Task: to print documents via local printers in Linux.
Solve: it is required to install CUPS printing system and add the printer, which can take less than minute.
Let's firing up the CUPS
The CUPS is Common UNIX Printing System. Before you install CUPS, you ought to look if you printer is supported, starting from here. If you printer is supported, install the next packages:
It is really common mistake when people installing only cupsys,package and forgetting to install foo2zjs when using Hewlett Packard printers. As a result, during the print process, errors like listed below appearing:
In press!
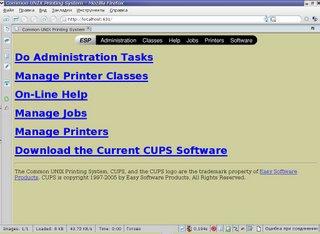
For new printer to add or to change settings of already installed printer, launching any browser and go to the address:
The CUPS page may loading in a long time if there is misconfigured DNS server in the local machine or in network. It is preferable to deactivate unnecessary network interface
Next, writing printer's name with Latin font and without spaces. After that considering a printer's connection type (in my case, it's a USB printer):
Thus, choosing a printer from a list:
A few clicks after and all work is done. It is a good idea to enter in Printers menu and check if it appearing in list of ready-to-print devices.
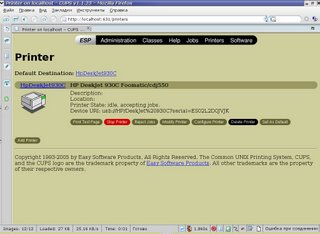
It can be easily configurable resolution, paper size and so on.
Printing from the GiMP
To print from GIMP, several additional packages are required:
Here are some obstacles: gimp-print by default assuming you printer definitely postscript-compatible, what is sometimes wrong. To prevent incorrect printer output, printer must be selected directly:
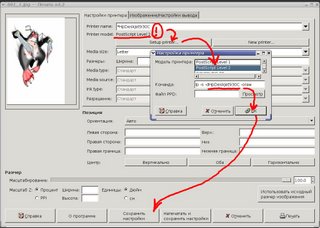
That means to push Configure printer, selecting a model, approving and saving tweaks. Finally, all should work perfectly.
Let's firing up the CUPS
The CUPS is Common UNIX Printing System. Before you install CUPS, you ought to look if you printer is supported, starting from here. If you printer is supported, install the next packages:
aptitude install cupsys gs-esp foomatic-bin foo2zjsIt is significant to install not only CUPS itself, but a programs used by him.
It is really common mistake when people installing only cupsys,package and forgetting to install foo2zjs when using Hewlett Packard printers. As a result, during the print process, errors like listed below appearing:
I [23/Aug/2005:14:41:46 +0400] Adding end banner page "none" to job 7.When all packages will be installed, you must add printers and start to print.
I [23/Aug/2005:14:41:46 +0400] Job 7 queued on 'HPDeskJet930C' by 'penta4'.
E [23/Aug/2005:14:41:46 +0400] Unable to convert file 0 to printable format for job 7!
I [23/Aug/2005:14:41:46 +0400] Hint: Do you have ESP Ghostscript installed?
I [23/Aug/2005:14:41:46 +0400] Hint: Try setting the LogLevel to "debug".
In press!
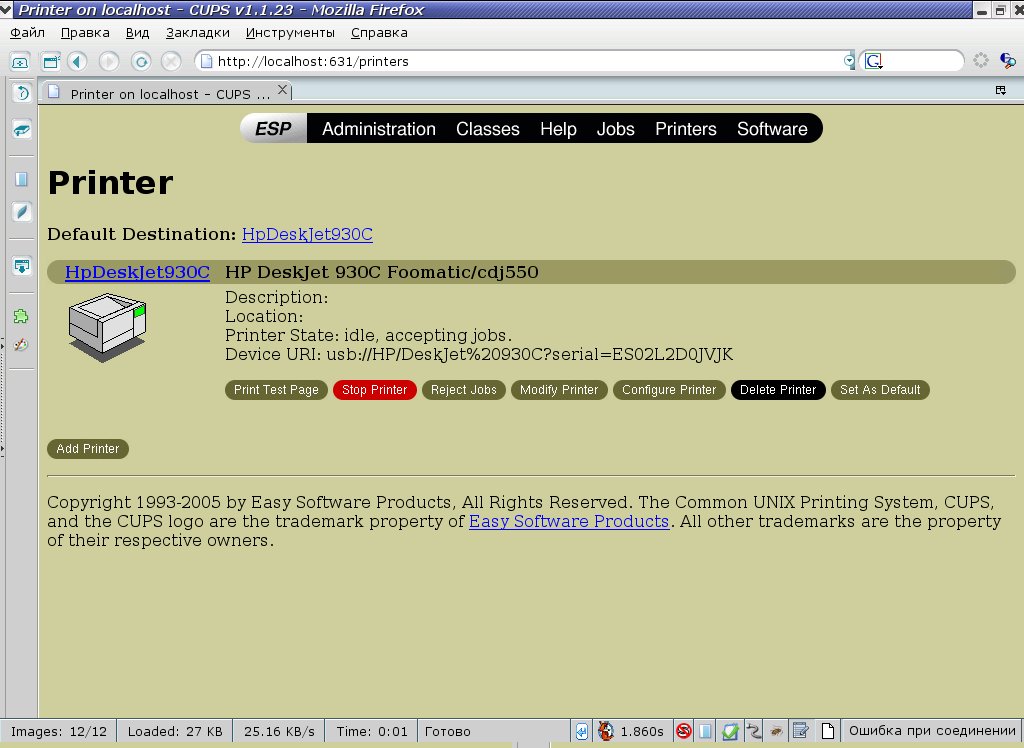
For new printer to add or to change settings of already installed printer, launching any browser and go to the address:
http://localhost:631After some time, settings page should appeare:

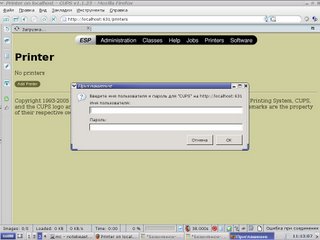
The CUPS page may loading in a long time if there is misconfigured DNS server in the local machine or in network. It is preferable to deactivate unnecessary network interface
ifconfig eth0 downPushing Printers menu item - if there are no printers, CUPS must confirm that. For new printer to add, a root privileges are required:

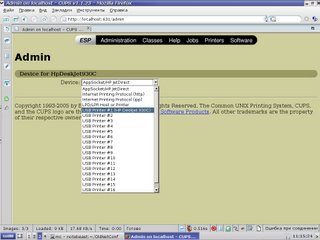
Next, writing printer's name with Latin font and without spaces. After that considering a printer's connection type (in my case, it's a USB printer):

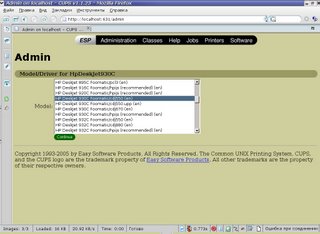
Thus, choosing a printer from a list:

A few clicks after and all work is done. It is a good idea to enter in Printers menu and check if it appearing in list of ready-to-print devices.
It can be easily configurable resolution, paper size and so on.
Printing from the GiMP
To print from GIMP, several additional packages are required:
aptitude install cupsys-driver-gimpprint gimp-printNow open the GIMP, any picture and select File - Print. After that, a big dialog box should appear, where all printer properties can be tweaked.
Here are some obstacles: gimp-print by default assuming you printer definitely postscript-compatible, what is sometimes wrong. To prevent incorrect printer output, printer must be selected directly:

That means to push Configure printer, selecting a model, approving and saving tweaks. Finally, all should work perfectly.
Read more...


